토비의 스프링 부트 - 독립 실행형 스프링 애플리케이션-2

스프링 컨테이너로 통합
현재 코드는 스프링 컨테이너를 만들고 서블릿을 초기화하는 작업을 스프링 컨테이너가 초기화되는 과정 중에 일어나도록 코드를 변경해보자. 이유는 스프링부트가 그렇게 사용하고 있다.
스프링 컨테이너의 초기화 작업은 refresh()에서 일어난다.
applicationContext.refresh();refresh() 전에 호출되는 onRefresh()를 사용하려면 GenericWebApplicationContext를 상속받아서 오버라이딩 해야한다. 클래스를 따로 만들기보다는 익명 클래스를 사용하여 오버라이딩 한다.

public class HellobootApplication {
   public static void main(String[] args) {

      GenericWebApplicationContext applicationContext = new GenericWebApplicationContext() {
         @Override
         protected void onRefresh() {
            super.onRefresh();

            ServletWebServerFactory serverFactory = new TomcatServletWebServerFactory();
            // 다양한 서버 프로그램을 위한 추상화를 위해 WebServer
            WebServer webServer = serverFactory.getWebServer(servletContext -> {
               servletContext.addServlet("dispatcherServlet",
                     new DispatcherServlet(this))
                     .addMapping("/*");
            });
            webServer.start();

         }
      };
      applicationContext.registerBean(HelloController.class); // bean 등록 끝
      applicationContext.registerBean(SimpleHelloService.class);
      applicationContext.refresh();
   }
}
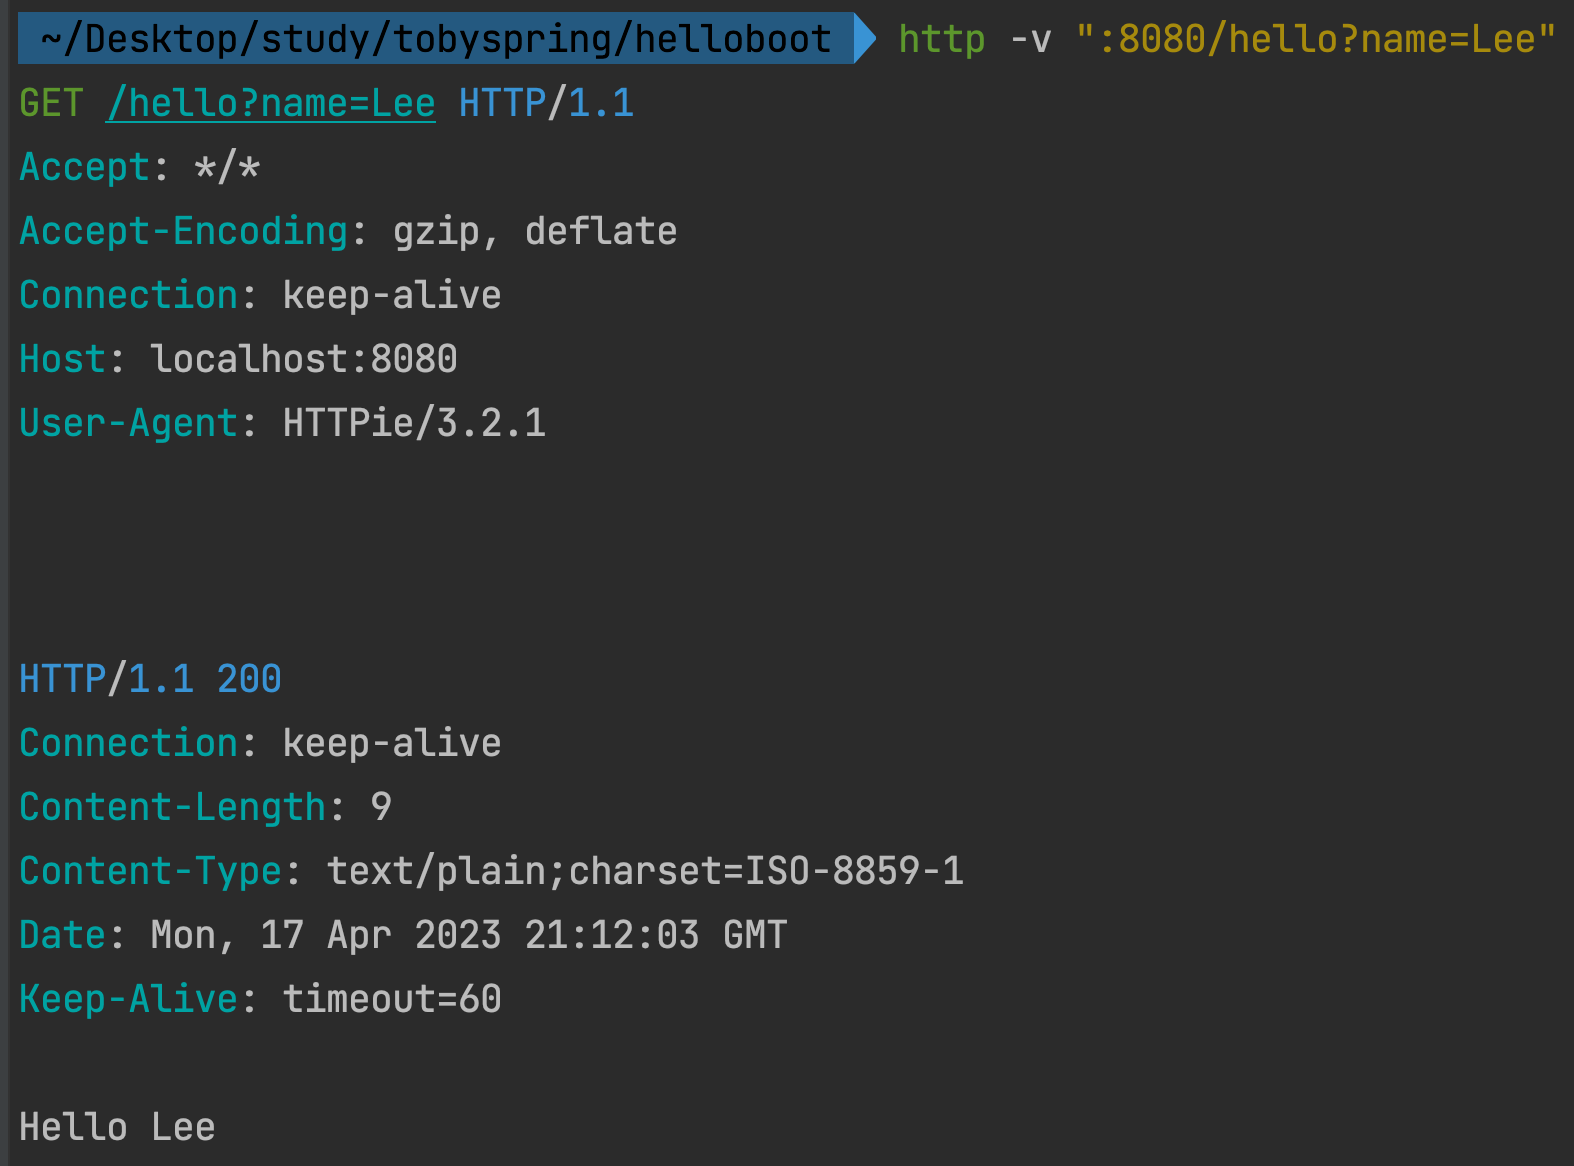
서버 재실행 후 테스트

자바코드 구성 정보 사용
스프링 컨테이너에서 HelloController와 helloService를 사용하려면 아래와 같이 작성해주면 된다.
public HelloController helloController() {
   return new HelloController();
}

public HelloService helloService() {
   return new SimpleHelloService();
}
문제는 helloController의 생성자에 helloService 객체가 들어가야한다는 것이다. 그럴때는 아래와 같이 매개변수로 넘겨주면 되고 @Bean 애노테이션을 붙여주면 Bean으로 등록이 된다.
@Bean
public HelloController helloController(HelloService helloService) {
    return new HelloController(helloService);
}

@Bean
public HelloService helloService() {
    return new SimpleHelloService();
}
클래스 레벨에 @Configuration 애노테이션을 붙여주면 스프링 컨테이너에게 이 클래스는 설정 정보, 구성 정보를 가지고 있는 클래스라는 걸 알려준다.
@Configuration
public class HellobootApplication { ... }
지금 작성된 main() 메서드 안의 코드에서 GenericWebApplicationContext는 자바코드로 만든 구성 정보를 읽을 수 없다. 따라서 AnnotationConfigWebApplicationContext로 변경해준다.
AnnotationConfigWebApplicationContext applicationContext = new AnnotationConfigWebApplicationContext()
그리고 빈을 하나하나 등록하는게 아니라 자바코드 구성 정보가 담긴 클래스를 register()로 등록한다.
applicationContext.register(HellobootApplication.class);
applicationContext.refresh();
서버 재실행 후 테스트

@Component 스캔
위에서 작성했던 팩토리 메서드를 삭제한다. 그리고 HelloController.java에서 클래스 레벨에 @Component 애노테이션을 붙여준다.
@RequestMapping("/hello")
@Component
public class HelloController { ... }
SimpleHelloService.java에도 붙여준다.
@Component
public class SimpleHelloService implements HelloService { ... }
HellobootApplication.java에는 @Component가 붙은 클래스를 찾아서 Bean으로 등록해달라는 애노테이션을 추가한다.
@Configuration
@ComponentScan
public class HellobootApplication { ... }
ComponentScan이 붙어있으면 HellobootApplication.class에서부터 시작해 그 하위 패키지까지 다 뒤져서 Component 애노테이션이 붙은 클래스를 Bean으로 등록시킨다.
서버 재실행 후 테스트
컴포넌트 생성하기
@Retention(RetentionPolicy.RUNTIME)
@Target(ElementType.TYPE)
@Component
public @interface MyComponent {
}
HelloController.java 애노테이션 수정
@RequestMapping("/hello")
@MyComponent
public class HelloController {
MyComponent 안에 Component 애노테이션이 붙어있기 때문에 HelloController도 컴포넌트 스캔 대상이 된다.
서버 재실행 후 테스트

스프링에서는 각 계층에 맞는 애노테이션을 제공해준다. HelloController에는 @Controller를, SimpleHelloService.java에는 @Service를 붙여주자. @Controller, @Service의 메타 애노테이션에는 @Component가 존재한다.
@RequestMapping("/hello")
@Controller
public class HelloController { ... }
@Service
public class SimpleHelloService implements HelloService { ... }
Bean의 생명주기 메소드
팩토리 메서드를 생성하고, getBean()을 이용해 Bean으로 등록된 객체를 가져와 실행하는 코드로 수정하자.
public class HellobootApplication {

   @Bean
   public ServletWebServerFactory servletWebServerFactory() {
      return new TomcatServletWebServerFactory();
   }

   @Bean
   public DispatcherServlet dispatcherServlet() {
      return new DispatcherServlet();
   }

   public static void main(String[] args) {
      AnnotationConfigWebApplicationContext applicationContext = new AnnotationConfigWebApplicationContext() {
         @Override
         protected void onRefresh() {
            super.onRefresh();

            ServletWebServerFactory serverFactory = this.getBean(ServletWebServerFactory.class);
            DispatcherServlet dispatcherServlet = this.getBean(DispatcherServlet.class);
            dispatcherServlet.setApplicationContext(this);

            // 다양한 서버 프로그램을 위한 추상화를 위해 WebServer
            WebServer webServer = serverFactory.getWebServer(servletContext -> {
               servletContext.addServlet("dispatcherServlet",dispatcherServlet
                     )
                     .addMapping("/*");
            });
            webServer.start();

         }
      };
      applicationContext.register(HellobootApplication.class);
      applicationContext.refresh();
   }
}
위 코드 중에서 applicationContext를 세팅하는 코드를 삭제해도 잘 돌아간다. 이유는 스프링 컨테이너에서 dispatcherServlet에 알아서 applicationContext를 주입시켜주기 때문이다. DispatcherContext는 ApplicationContextAware를 상속해서 만들어져있는데 이 클래스는 Bean의 생명주기와 관련된 메서드들을 담고 있는 클래스다. HelloController에 ApplicationContextAware를 구현해보자.
@RestController
public class HelloController implements ApplicationContextAware {
    private final HelloService helloService;

    public HelloController(HelloService helloService) {
        this.helloService = helloService;
    }

    @GetMapping("/hello")
    @ResponseBody
    public String hello(String name) {
        return helloService.sayHello(Objects.requireNonNull(name));
    }

    @Override
    public void setApplicationContext(ApplicationContext applicationContext) throws BeansException {
        System.out.println(applicationContext);
    }
}
setApplicationContext는 언제 호출되냐면, 스프링 컨테이너가 초기화 되는 시점에 호출된다.
@RestController
public class HelloController implements ApplicationContextAware {
    private final HelloService helloService;
    private ApplicationContext applicationContext;

    public HelloController(HelloService helloService) {
        this.helloService = helloService;
    }

    @GetMapping("/hello")
    @ResponseBody
    public String hello(String name) {
        return helloService.sayHello(Objects.requireNonNull(name));
    }

    @Override
    public void setApplicationContext(ApplicationContext applicationContext) throws BeansException {
        System.out.println(applicationContext);
        this.applicationContext = applicationContext;
    }
}
위 방법보다는 생성자를 이용해 applicationContext를 주입받도록 변경하자.
@RestController
public class HelloController {
    private final HelloService helloService;
    private ApplicationContext applicationContext;

    public HelloController(HelloService helloService, ApplicationContext applicationContext) {
        this.helloService = helloService;
        this.applicationContext = applicationContext;
    }

    @GetMapping("/hello")
    @ResponseBody
    public String hello(String name) {
        return helloService.sayHello(Objects.requireNonNull(name));
    }
}
서버 재실행 후 테스트

SpringBootApplication
작성한 코드 중 main() 메서드 안의 로직을 리팩토링 기능을 이용해서 함수로 빼내자.
public static void main(String[] args) {
   run();
}

private static void run() {
   AnnotationConfigWebApplicationContext applicationContext = new AnnotationConfigWebApplicationContext() {
      @Override
      protected void onRefresh() {
         super.onRefresh();

         ServletWebServerFactory serverFactory = this.getBean(ServletWebServerFactory.class);
         DispatcherServlet dispatcherServlet = this.getBean(DispatcherServlet.class);
         dispatcherServlet.setApplicationContext(this);

         // 다양한 서버 프로그램을 위한 추상화를 위해 WebServer
         WebServer webServer = serverFactory.getWebServer(servletContext -> {
            servletContext.addServlet("dispatcherServlet",dispatcherServlet
                  )
                  .addMapping("/*");
         });
         webServer.start();

      }
   };
   applicationContext.register(HellobootApplication.class);
   applicationContext.refresh();
}
매개변수를 알맞게 지정해준다.
public static void main(String[] args) {
   run(HellobootApplication.class);
}

private static void run(Class<?> applicationClass) {
   AnnotationConfigWebApplicationContext applicationContext = new AnnotationConfigWebApplicationContext() {
      @Override
      protected void onRefresh() {
         super.onRefresh();

         ServletWebServerFactory serverFactory = this.getBean(ServletWebServerFactory.class);
         DispatcherServlet dispatcherServlet = this.getBean(DispatcherServlet.class);
         dispatcherServlet.setApplicationContext(this);

         // 다양한 서버 프로그램을 위한 추상화를 위해 WebServer
         WebServer webServer = serverFactory.getWebServer(servletContext -> {
            servletContext.addServlet("dispatcherServlet",dispatcherServlet
                  )
                  .addMapping("/*");
         });
         webServer.start();

      }
   };
   applicationContext.register(applicationClass);
   applicationContext.refresh();
}
MySpringApplication.java 생성 후 코드를 옮긴다. 접근제한자도 private -> public으로 변경
public class MySpringApplication {
    public static void run(Class<?> applicationClass, String... args) {
        AnnotationConfigWebApplicationContext applicationContext = new AnnotationConfigWebApplicationContext() {
            @Override
            protected void onRefresh() {
                super.onRefresh();

                ServletWebServerFactory serverFactory = this.getBean(ServletWebServerFactory.class);
                DispatcherServlet dispatcherServlet = this.getBean(DispatcherServlet.class);
                dispatcherServlet.setApplicationContext(this);

                // 다양한 서버 프로그램을 위한 추상화를 위해 WebServer
                WebServer webServer = serverFactory.getWebServer(servletContext -> {
                    servletContext.addServlet("dispatcherServlet",dispatcherServlet
                            )
                            .addMapping("/*");
                });
                webServer.start();

            }
        };
        applicationContext.register(applicationClass);
        applicationContext.refresh();
    }
}
HellobootApplication.java 수정
@Configuration
@ComponentScan
public class HellobootApplication {

   @Bean
   public ServletWebServerFactory servletWebServerFactory() {
      return new TomcatServletWebServerFactory();
   }

   @Bean
   public DispatcherServlet dispatcherServlet() {
      return new DispatcherServlet();
   }

   public static void main(String[] args) {
      MySpringApplication.run(HellobootApplication.class, args);
   }
}
서버 재실행 후 테스트

이제 스프링이 제공하는 훨씬 더 나은 코드로 작성된 SpringApplication으로 변경한다.
public static void main(String[] args) {
   SpringApplication.run(HellobootApplication.class, args);
}
- 출처 : 인프런 토비의 스프링부트 - 이해와 원리 강의