반응형

Spring Boot로 개발하는 RESTful Service
Spring Boot 개요
- Spring Boot
- 스프링 기반의 단독 실행 가능한 어플리케이션을 개발하기 위한 플랫폼
- 상용화 가능한 수준의 어플리케이션을 만들 수 있음
- spring 보다 spring boot를 사용하면 최소한의 설정만으로 플랫폼과 서드 파티 라이브러리 등을 사용할 수 있음
- spring boot에 Tomcat, Jett나 Undertow 웹 어플리케이션 서버가 내장되어 있어 별도로 설치하지 않아도 된다.
- 실행에 필요한 많은 API들이 spring boot에 'starter'라는 컴포넌트를 통해 쉽게 사용할 수 있음.
- 실행에 필요한 다양한 설정을 auto configuration으로 자동으로 설정할 수 있다.
- 상용화와 관련된 통계, 모니터링 작업, 외부 설정을 위한 다양한 라이브러리 포함
- Spring boot 프로젝트 생성
- https://start.spring.io/ 홈페이지에서 생성
- IDE를 통한 생성
REST API 설계
- User와 Post는 일대다 관계이다.
- 한 명의 사용자는 여러 개의 post를 올릴 수 있다.
| Description | REST API | HTTP Method |
| Retrieve all Users | /users | GET |
| Create a User | /users | POST |
| Retrieve one User | /users/{id} | GET |
| Delete a User | /users/{id} | DELETE |
| Retrieve all posts for a User | /users/{id}/posts | GET |
| Create a potst for a User | /users/{id}/posts | POST |
| Retrieve details of a User | /users/{id}/posts/{post_id} | GET |
Spring Boot Project 생성
- 주의! Spring Boot 버전을 3.0 이상 사용 시 Java 17 이상, javax 패키지 이름을 jakarta로 변경해야 함
- https://start.spring.io/

| 강의 | 나 | |
| Project | Maven | Gradle |
| Language(version) | Java(8) | Java(11) |
| Spring Boot version | 2.2.5 | 2.7.7 |
| Project Metadata | 동일 | 동일 |
| Packaging | Jar | Jar |
| Dependencies | Spring Web Spring Data JPA H2 Database Spring Boot DevTools Lombok |
Spring Web Spring Data JPA H2 Database Spring Boot DevTools Lombok |
- 생성 후 하단의 Generate 클릭
- Postman 설치 : https://www.postman.com/
Postman API Platform | Sign Up for Free
Postman is an API platform for building and using APIs. Postman simplifies each step of the API lifecycle and streamlines collaboration so you can create better APIs—faster.
www.postman.com
Spring Boot Project 실행
- src/main/java/com.example.restwebservice.RestfulWebServiceApplication.java 클릭 후 메서드 옆 실행 아이콘 클릭

설정
- application.properties 파일 → application.yml로 변경
- yml은 properties 확장자보다 더 많은 기능을 지원하고 보다 컴팩트하게 설정할 수 있다는 장점이 있어 최근에 많이 쓰는 형식.
- 들여쓰기로 뎁스(depth)를 구별함. 들여쓰기 중요!

- application.yml에 내용 추가(서버 포트 변경. 디폴트 값은 8080이다.)
server:
  port: 8088
실행하면 기존의 8080 포트로 열렸던 서버가 8088로 열리는 걸 확인할 수 있다.


HelloWorld Controller 추가
- HelloWorldController.java 생성
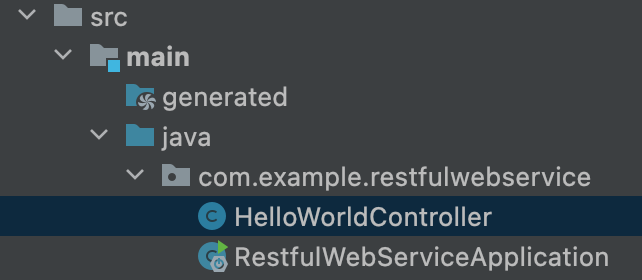
- HelloWorldController.java 파일 작성
@RestController
public class HelloWorldController {
    // HTTP Method : GET
    // url : /hello-world (endpoint)

    // 예전 방식 : @RequestMapping(method=RequestMethod.GET, path="/hello-world")
    // @GetMapping(path = "/hello-world")
    @GetMapping("/hello-world") // endpoint만 적을 시 path 생략 가능
    public String helloWorld() {
        return "Hello World";
    }
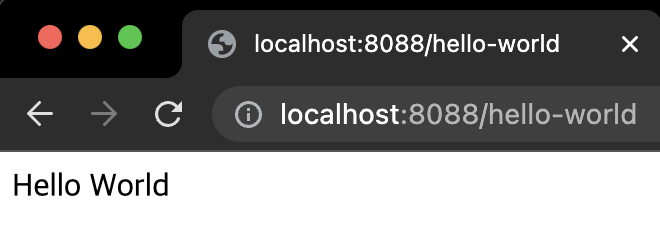
}- 서버 실행 후 크롬에서 확인
- 주소 : http://localhost:8088/hello-world (포트를 변경하지 않았다면 8088 대신 8080 기재)
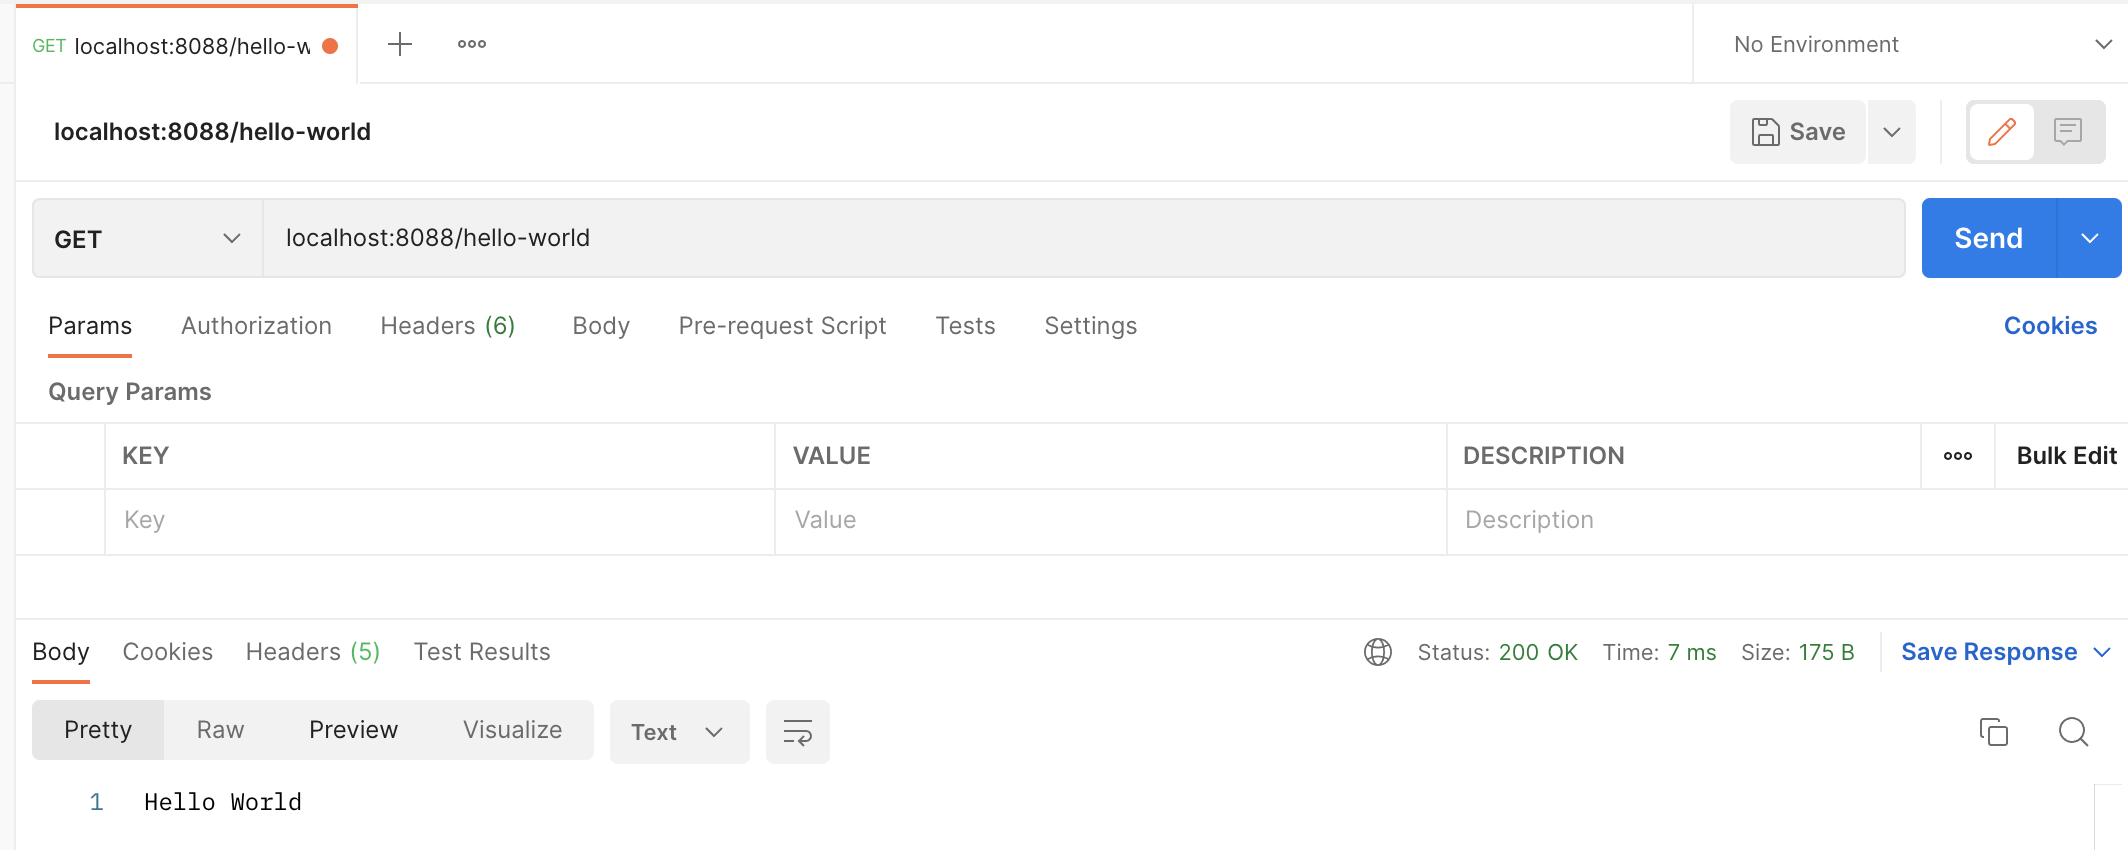
- 서버 실행 후 포스트맨에서 확인
HelloWorld Bean 추가
- HelloWorldController.java 메서드 추가
// window : alt + enter
// mac : option + enter
@GetMapping(path = "/hello-world-bean")
public HelloWorldBean helloWorldBean() {
    return new HelloWorldBean("Hello World");
}
HelloWorldBean을 만들지 않았기 때문에 인텔리제이에서 에러 발생. return 쪽 빨간 글자 클릭 후 주석에 쓰여있는 단축키를 누르면 컨텍스트 메뉴가 뜬다.
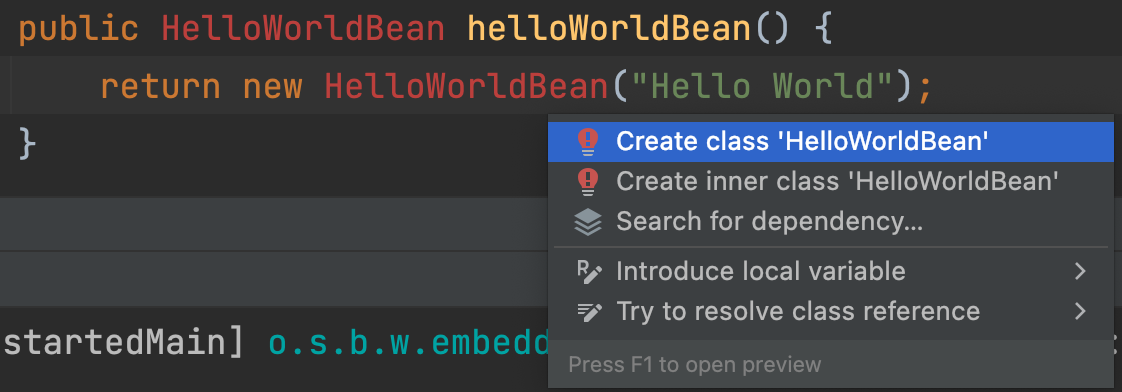
Create class 'HelloWorldBean'을 클릭 후 OK를 누르면 HelloWorldBean.java가 생성된다. return 말고 메서드 선언부에 있는 빨간 글자에서 단축키를 누르면 String 생성자가 없는 클래스가 만들어지므로 return 쪽에 있는 빨간 글자를 선택하고 단축키를 누르자.
- HelloWorldBean.java 확인
public class HelloWorldBean {
    public HelloWorldBean(String message) {
    }
}- 코드 수정(Lombok 이용)
@Data // @Getter, @Setter, @RequiredArgsConstructor, @ToString, @EqualsAndHashCode 모두 생성
@AllArgsConstructor // 생성자 자동 생성
@NoArgsConstructor // 기본 생성자 자동 생성
public class HelloWorldBean {
    private String message;
}
Lombok 사용을 위한 추가적인 설정 (MAC 기준)
- IntelliJ IDE > Preferences > annotation 검색 > annotation Processors > Enable annotation processing 체크

- IntelliJ IDE > Preferences > plugin 검색 > Plugins > Lombok 검색 > install

- 서버 실행 후 크롬에서 확인
- 주소 : localhost:8088/hello-world-bean

- 서버 실행 후 포스트맨에서 확인
- 주소 : localhost:8088/hello-world-bean

- 처음에 작성했던 helloWorld()와 달리 이번에는 JSON 타입으로 반환 받는다. 첫 번째 메서드의 리턴 타입의 경우 "String"이었고, 두 번째 작성했던 메서드의 리턴 값은 객체이다.
- @RestController는 반환 타입이 객체, 컬렉션, 배열 등이면 JSON으로 반환된다. XML로 반환할 수도 있지만 라이브러리를 추가적으로 설정해줘야 한다.
DispatcherServlet과 프로젝트 동작의 이해
Spring Boot 동작 원리
- application.yml 또는 application.properties로 스프링부트 환경 설정
- Spring Boot Auto Configuration
- DispatcherServletAutoConfiguration
- ErrorMvcAutoConfiguration
- HttpMessageConvertersAutoConfiguration → JSON converter
Dispatcher Servlet
- DispatcherServlet → "/"
- 클라이언트의 모든 요청을 한곳에서 받아서 처리
- 요청에 맞는 Handler로 요청 전달
- Handler의 실행 결과를 HTTP Response 형태로 만들어서 반환
RestController
- Spring4부터 @RestController 지원
- @Controller + @ResponseBody
- View를 갖지 않는 REST Data(JSON/XML)를 반환

Path Variable 사용
- {}를 이용하면 url에 가변적인 값을 넣어줄 수 있음
- HelloWorldController.java 메서드 추가
@GetMapping(path = "/hello-world-bean/path-variable/{name}")
public HelloWorldBean helloWorldBean(@PathVariable String name) {
    // path {}에 기재된 변수명과 매개변수명이 다를 경우 (value = "name")으로 {}에 기재된 변수명 적어줘야함.
    // ex) @PathVariable(value = "name") String input
    // 같을 경우엔 (value = "name") 생략 가능
    return new HelloWorldBean(String.format("Hello World, %s", name));
}- 서버 실행 후 크롬에서 확인( localhost:8088/hello-world-bean/path-variable/123 )

- 서버 실행 후 포스트맨에서 확인
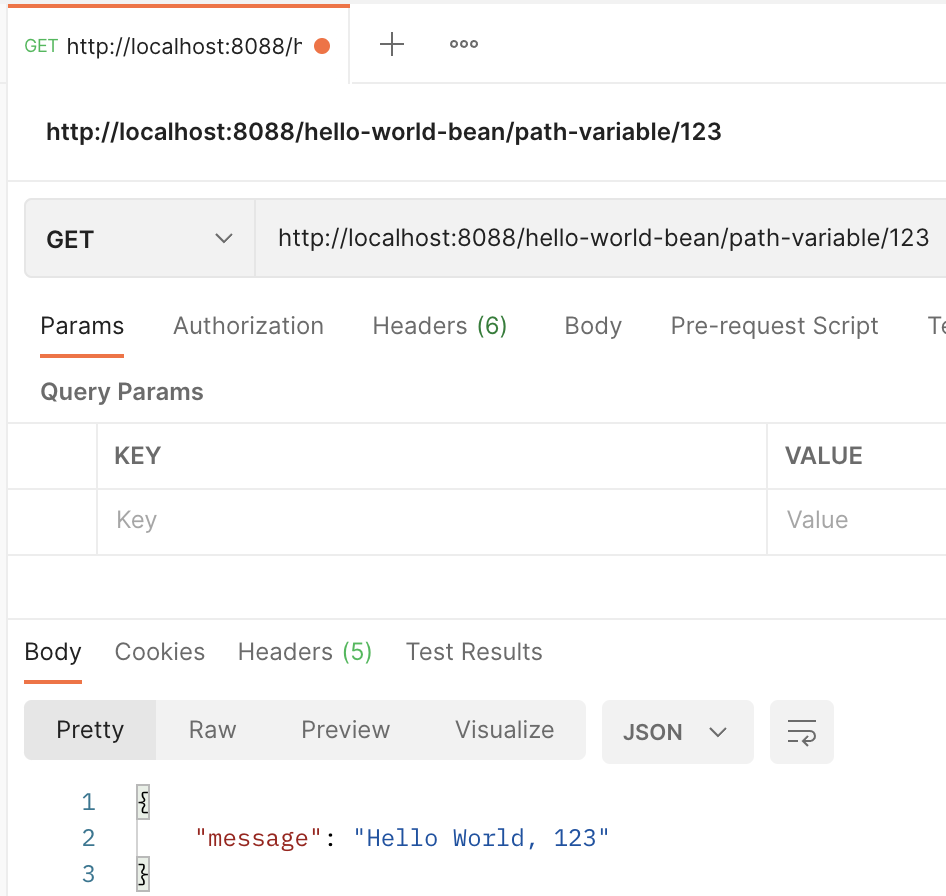
- 출처 : 인프런 Spring Boot를 이용한 RESTful Web Services 개발 강의
반응형