이전 프로젝트
[토이 프로젝트] 회원가입 기능 만들기-1
사실 아직 만들고 싶은 프로젝트는 생각안해봤다.다만 프로젝트를 해봐야 실력이 정말 늘 것 같아서 일단 대중적이고 레퍼런스 자료가 제일 많은커뮤니티 사이트를 만들어보려한다. 환경은 일
devhan.tistory.com
이번엔 로그인 기능에 스프링 시큐리티를 적용해서 보안을 강화해보자.
먼저, build.gradle에 스프링 시큐리티를 추가해준다.
dependencies {
	implementation "org.springframework.boot:spring-boot-starter-security"
}
다양한 기능(ex.OAuth 2.0 등)을 동시에 적용할 수 있겠지만 일단 차근차근 적용해보는 거로 하자.
그래서 일단 제일 기본적인 아이디/비밀번호 로그인 기반 spring security 기능을 적용해서 인증 기능을 구현하자.
일단 공식 페이지에서 가이드를 확인했다.
Username/Password Authentication :: Spring Security
Normally, Spring Security builds an AuthenticationManager internally composed of a DaoAuthenticationProvider for username/password authentication. In certain cases, it may still be desired to customize the instance of AuthenticationManager used by Spring S
docs.spring.io
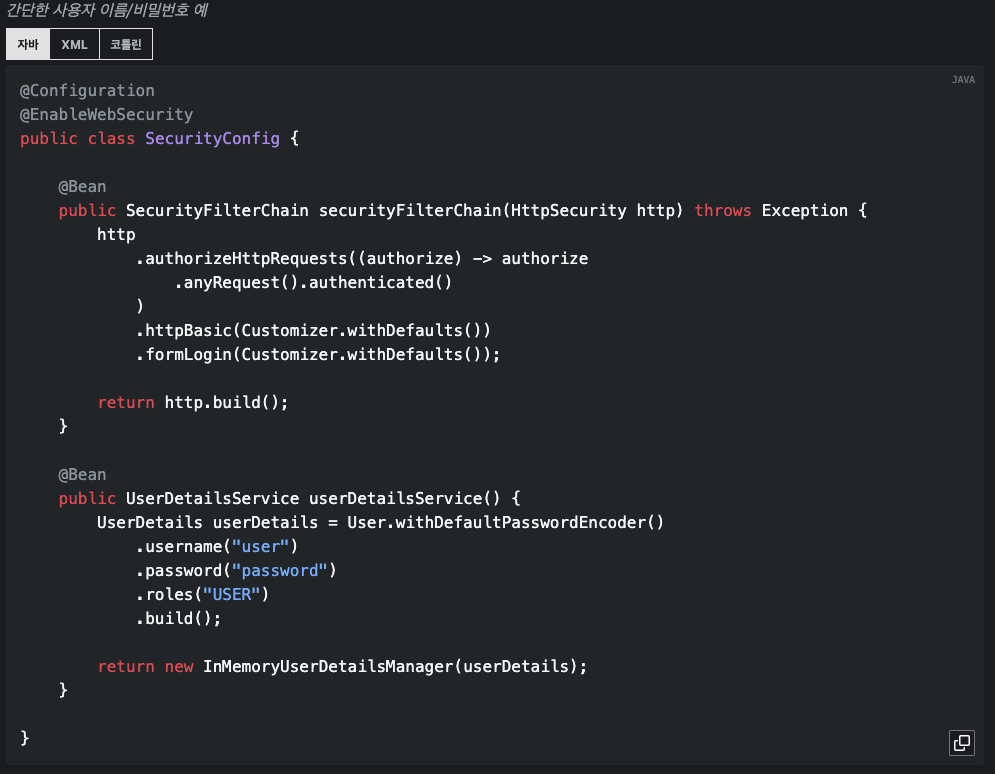
일단 이렇게 알려준 코드를 config 패키지를 만들어 똑같이 파일을 만들어주고 소스를 붙여넣었다.
근데 코드에 대한 자세한 설명이 없고, 구글 번역기를 사용해서 문장이 불완전했다.
그래서 챗GPT한테 물어보고 이것 저것 건드려본 결과를 정리하면..
어노테이션
- Configuration : 설정 클래스임을 스프링 부트에게 알려줌.
- EnableWebSecurity : spring securtiy 활성화
securityFilterChain()
스프링 시큐리티에서 사용하는 SecurityFilterChain을 반환. securityFilterChain()이 없으면 기본적으로 위 코드의 내용으로 디폴트 세팅이 된다.
SecurityFilterChain() 호출 흐름
- Spring Boot를 실행하면 @EnableWebSecurity 활성화
- Spring security가 @Bean을 가진 클래스 스캔
- securityFilterChain()을 찾아 자동으로 실행하여 보안 설정 적용
- SecurityFilterChain이 Spring Security의 FilterChainProxy에 등록됨
- 요청이 들어올 때 FilterChainProxy가 이를 가로채 보안 검사 수행
결론은 스프링 시큐리티가 자동으로 securityFilterChain()을 호출하니 보안 규칙을 정해 해당 메서드 안에 기재하면 된다.
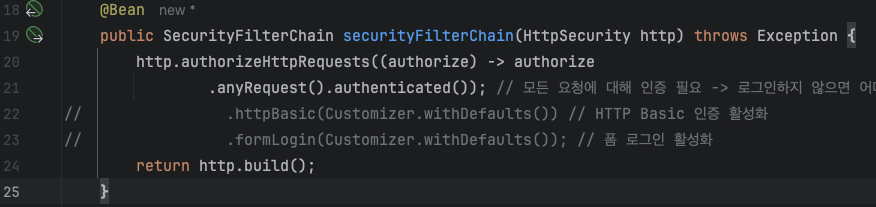
authorizeHttpRequests
http.authorizeHttpRequests((authorize) -> authorize
        .anyRequest().authenticated()) // 모든 요청에 대해 인증 필요
이 코드는 모든 요청에 대해 인증을 요구하는 코드다.
즉, 로그인하지 않으면 그 어떠한 페이지에도 접근할 수가 없다.
테스트를 위해 해당 코드만 남기고 나머지는 주석처리하고 서버를 돌려봤다.
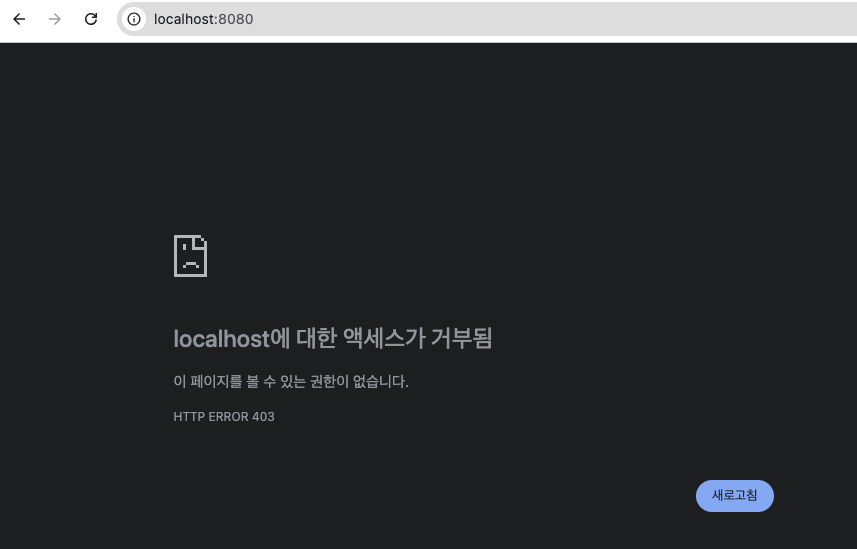
서버를 실행하고 localhost:8080으로 접속하면 권한이 없다는 페이지가 보인다. HTTP error 코드는 403.
그러면 메인 화면은 누구나 접근하게 하고 싶으면 어떻게할까
바로 permitAll()을 사용하면 된다. 그래서 바로 permitAll()을 추가하고 서버를 돌려봤다.
@Bean
public SecurityFilterChain securityFilterChain(HttpSecurity http) throws Exception {
    http.authorizeHttpRequests((authorize) -> authorize
            .requestMatchers("/").permitAll() // 메인 화면은 로그인 없이 접근 가능
            .anyRequest().authenticated()); // 모든 요청에 대해 인증 필요 -> 로그인하지 않으면 어떠한 페이지도 접근 X
//                .httpBasic(Customizer.withDefaults()) // HTTP Basic 인증 활성화
//               .formLogin(Customizer.withDefaults()); // 폼 로그인 활성화
    return http.build();
}
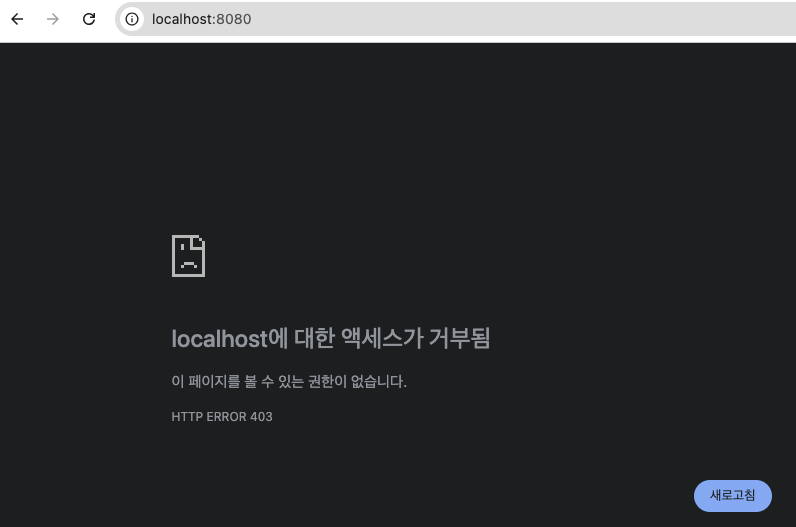
근데 여전히 403 에러가 발생했다. 뭐가 문젠지하고 찾아보다가 permitAll()로 로그인 없이 접근 가능한 경로를 설정해도 스프링 시큐리티에서 로그인 기능 formLogin(), httpBasic()이 없으면 아예 403 에러를 터트려버린다고 한다.
그래서 임시로 formLogin()까지 설정해주고 서버를 돌려봤다.
@Bean
public SecurityFilterChain securityFilterChain(HttpSecurity http) throws Exception {
    http.authorizeHttpRequests((authorize) -> authorize
            .requestMatchers("/").permitAll() // 메인 화면은 로그인 없이 접근 가능
            .anyRequest().authenticated()) // 모든 요청에 대해 인증 필요 -> 로그인하지 않으면 어떠한 페이지도 접근 X
//                .httpBasic(Customizer.withDefaults()) // HTTP Basic 인증 활성화
            .formLogin(Customizer.withDefaults()); // 폼 로그인 활성화
    return http.build();
}
localhost:8080으로 접속했는데 기대와는 달리 /login 페이지로 리다이렉트 된다. 이것저것 다양하게 경로를 추가해봤는데 결론적으로는 "/index.html"도 추가해주면 된다.
@Bean
public SecurityFilterChain securityFilterChain(HttpSecurity http) throws Exception {
    http.authorizeHttpRequests((authorize) -> authorize
            .requestMatchers("/", "/index.html").permitAll()
            .anyRequest().authenticated())
//                .httpBasic(Customizer.withDefaults()) // HTTP Basic 인증 활성화
            .formLogin(Customizer.withDefaults()); // 폼 로그인 활성화
    return http.build();
}
"/"만 추가했을때 안되는 이유는 spring boot에서는 정적 리소스를 자동으로 서빙해준다. /static/index.html 파일을 만들면 브라우저에서 "localhost:8080/"만 입력해도 index.html 화면을 띄워준다.
근데 spring security 입장에서는 "/" != "/index.html"이다. 제일 처음 GET 요청인 "/" 경로는 permitAll()로 통과시킨다. 그래서 spring boot가 "/index.html"을 서빙하려고 하니까 spring security 입장에서는 "/"가 아니기 때문에 /login 경로로 리다이렉트 시켜버린다.
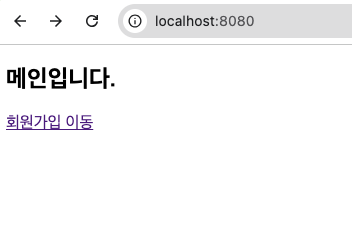
서버를 재시작하고 localhost:8080으로 접속하면 이제 메인이 잘 뜬다.
formLogin()
@Bean
public SecurityFilterChain securityFilterChain(HttpSecurity http) throws Exception {
    http.authorizeHttpRequests((authorize) -> authorize
            .requestMatchers("/", "/index.html").permitAll()
            .anyRequest().authenticated())
//                .httpBasic(Customizer.withDefaults()) // HTTP Basic 인증 활성화
            .formLogin(Customizer.withDefaults()); // 폼 로그인 활성화
    return http.build();
}
위 코드에서 .formLogin()은 어떤 역할을 하는 소스일까. 말 그대로 폼 로그인 기능을 활성화 해준다.
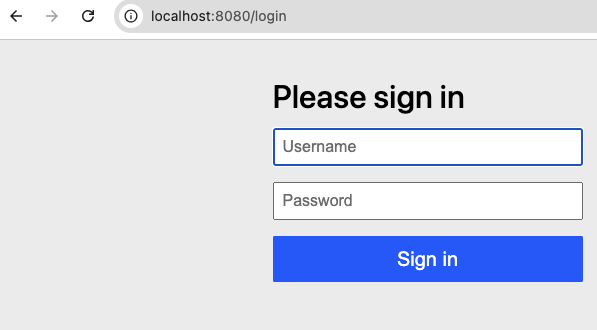
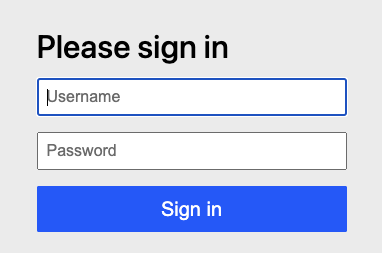
매개변수로 Customizer.withDefaults()를 입력하면 기본적으로 제공하는 로그인 페이지로 리다이렉트 해준다.
그래서 위에서 /login으로 리다이렉트 됐을 때 초면인 화면이 보여졌던 것이다.
내가 만들었던 로그인 화면을 "/login"으로 접속했을 때 띄우려면 loginPage() 설정과 requesetMatchers() 설정을 해주면 된다.
@Bean
public SecurityFilterChain securityFilterChain(HttpSecurity http) throws Exception {
    http.authorizeHttpRequests((authorize) -> authorize
            .requestMatchers("/", "/index.html", "/member/login.html").permitAll() // 수정
            .anyRequest().authenticated())
//                .httpBasic(Customizer.withDefaults()) // HTTP Basic 인증 활성화
            .formLogin(form -> form.loginPage("/member/login.html")); // 수정
    return http.build();
}
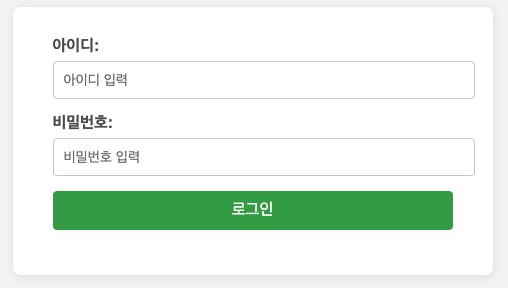
설정 후 서버를 재시작해보면 짠~
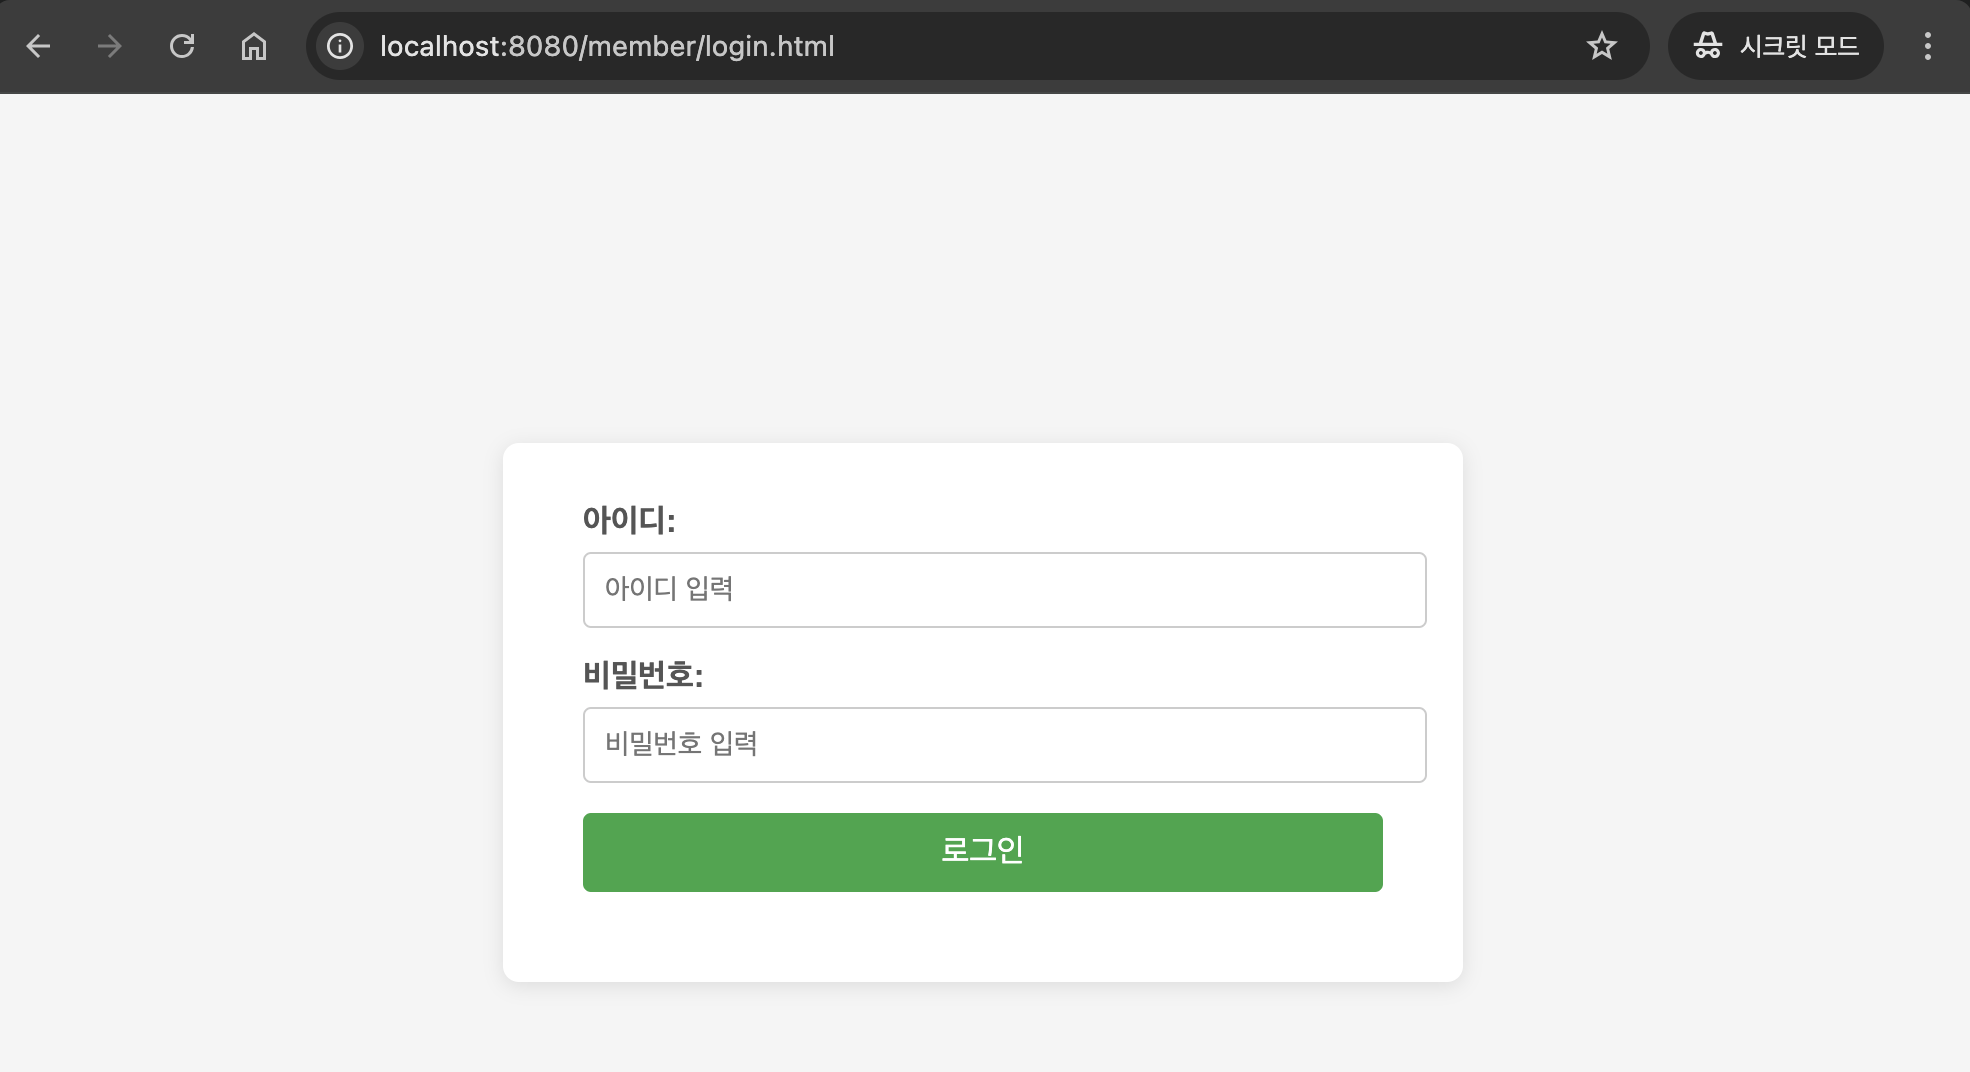
내가 만들었던 로그인 화면이 잘 나온다. 근데 사실 RESTful API로 개발할 때는 .formLogin()과 .httpBasic()이 필요하지가 않다고 한다. 그래서 필요없는 저 메서드 두 개를 사용하지 않아도 된다.
소스를 전반적으로 RESTful API에 맞춰보면 아래와 같다.
@Bean
public SecurityFilterChain securityFilterChain(HttpSecurity http) throws Exception {
    http.csrf(csrf -> csrf.disable())
            .sessionManagement(session -> session.sessionCreationPolicy(SessionCreationPolicy.STATELESS))
            .authorizeHttpRequests((authorize) -> authorize
                    .requestMatchers("/", "/index.html", "/member/login.html", "/api/auth/login").permitAll()
                    .anyRequest().authenticated())
            .exceptionHandling(exceptions -> exceptions.authenticationEntryPoint(((request, response, authException)
                    -> response.sendError(HttpServletResponse.SC_UNAUTHORIZED)))); // 401 응답 반환
    return http.build();
}
세션 관련 설정은 꼭 STATELESS로 설정해줘야 한다. 현재로써는 세션 관련 기능이 없기 때문에 세션 기능을 사용 안함으로 설정해주지 않으면 스프링 시큐리티는 세션 기반이 디폴트라 계속 세션을 체크해서 어떤짓을 해도 401 에러를 뱉을 수 있기 때문이다.
일단 원활한 테스트를 위해 메인 화면에 a 태그로 login 화면을 이동할 수 있도록 하나 만들어준다.

로그인 이동 글씨를 클릭하면 해당 화면으로 잘 이동한다.
그리고 DB를 확인하고 member 테이블에 데이터가 없으면 insert문으로 데이터 넣어주고 로그인을 진행해보자.
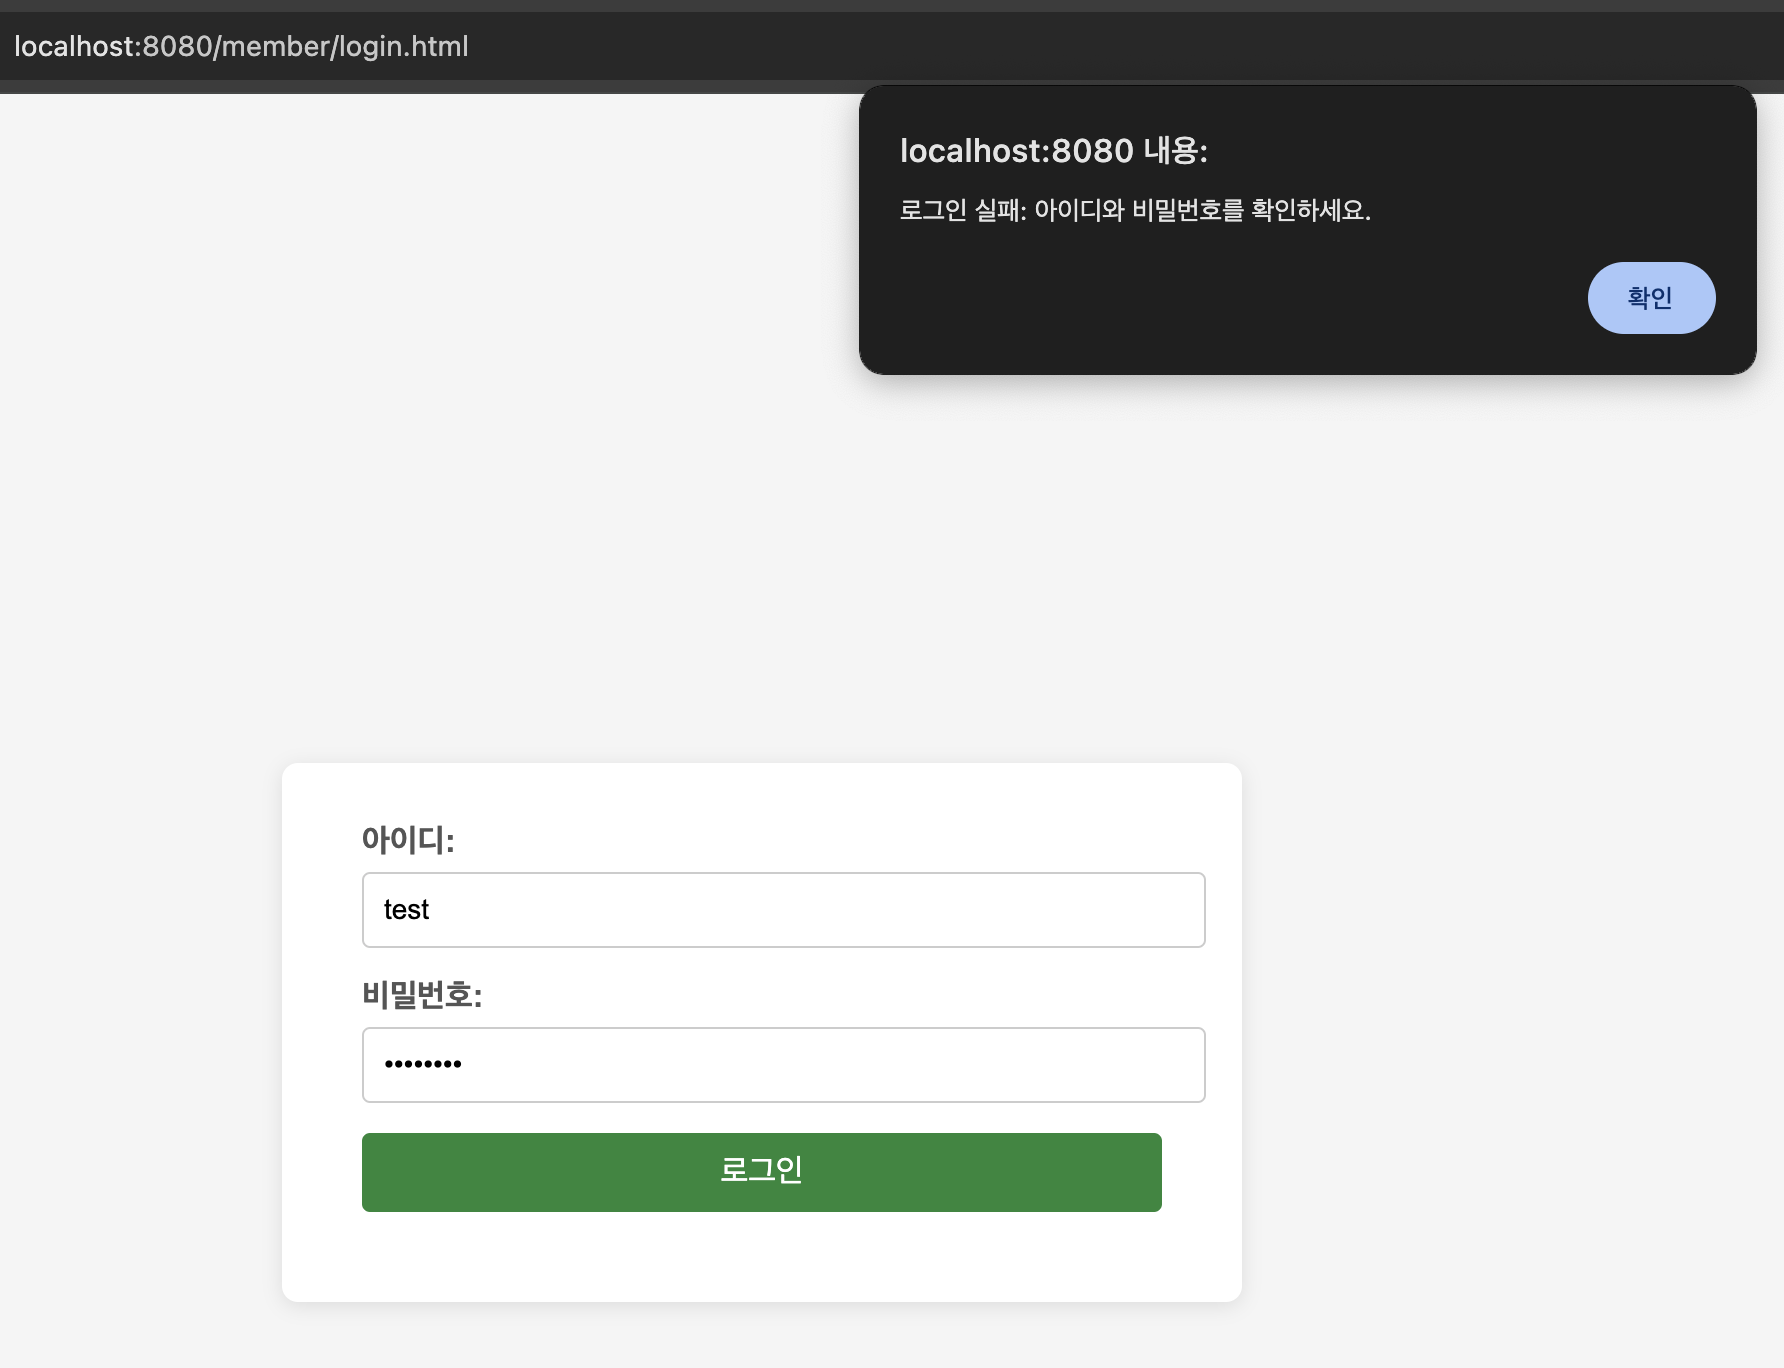
로그인 실패가 떨어진다. 개발자 도구로 네트워크 요청 메세지를 확인해보면 401 에러 코드를 볼 수 있다.
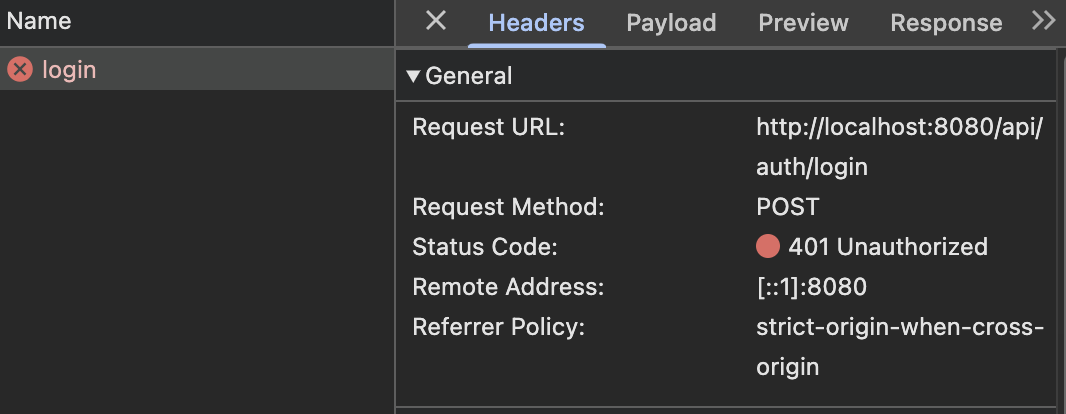
왜 그러는지 생각해보다가 /api/auth/login 요청 주소도 스프링 시큐리티의 거미줄에 걸리지 않게 제외해줘야겠다는 생각이 들었다.
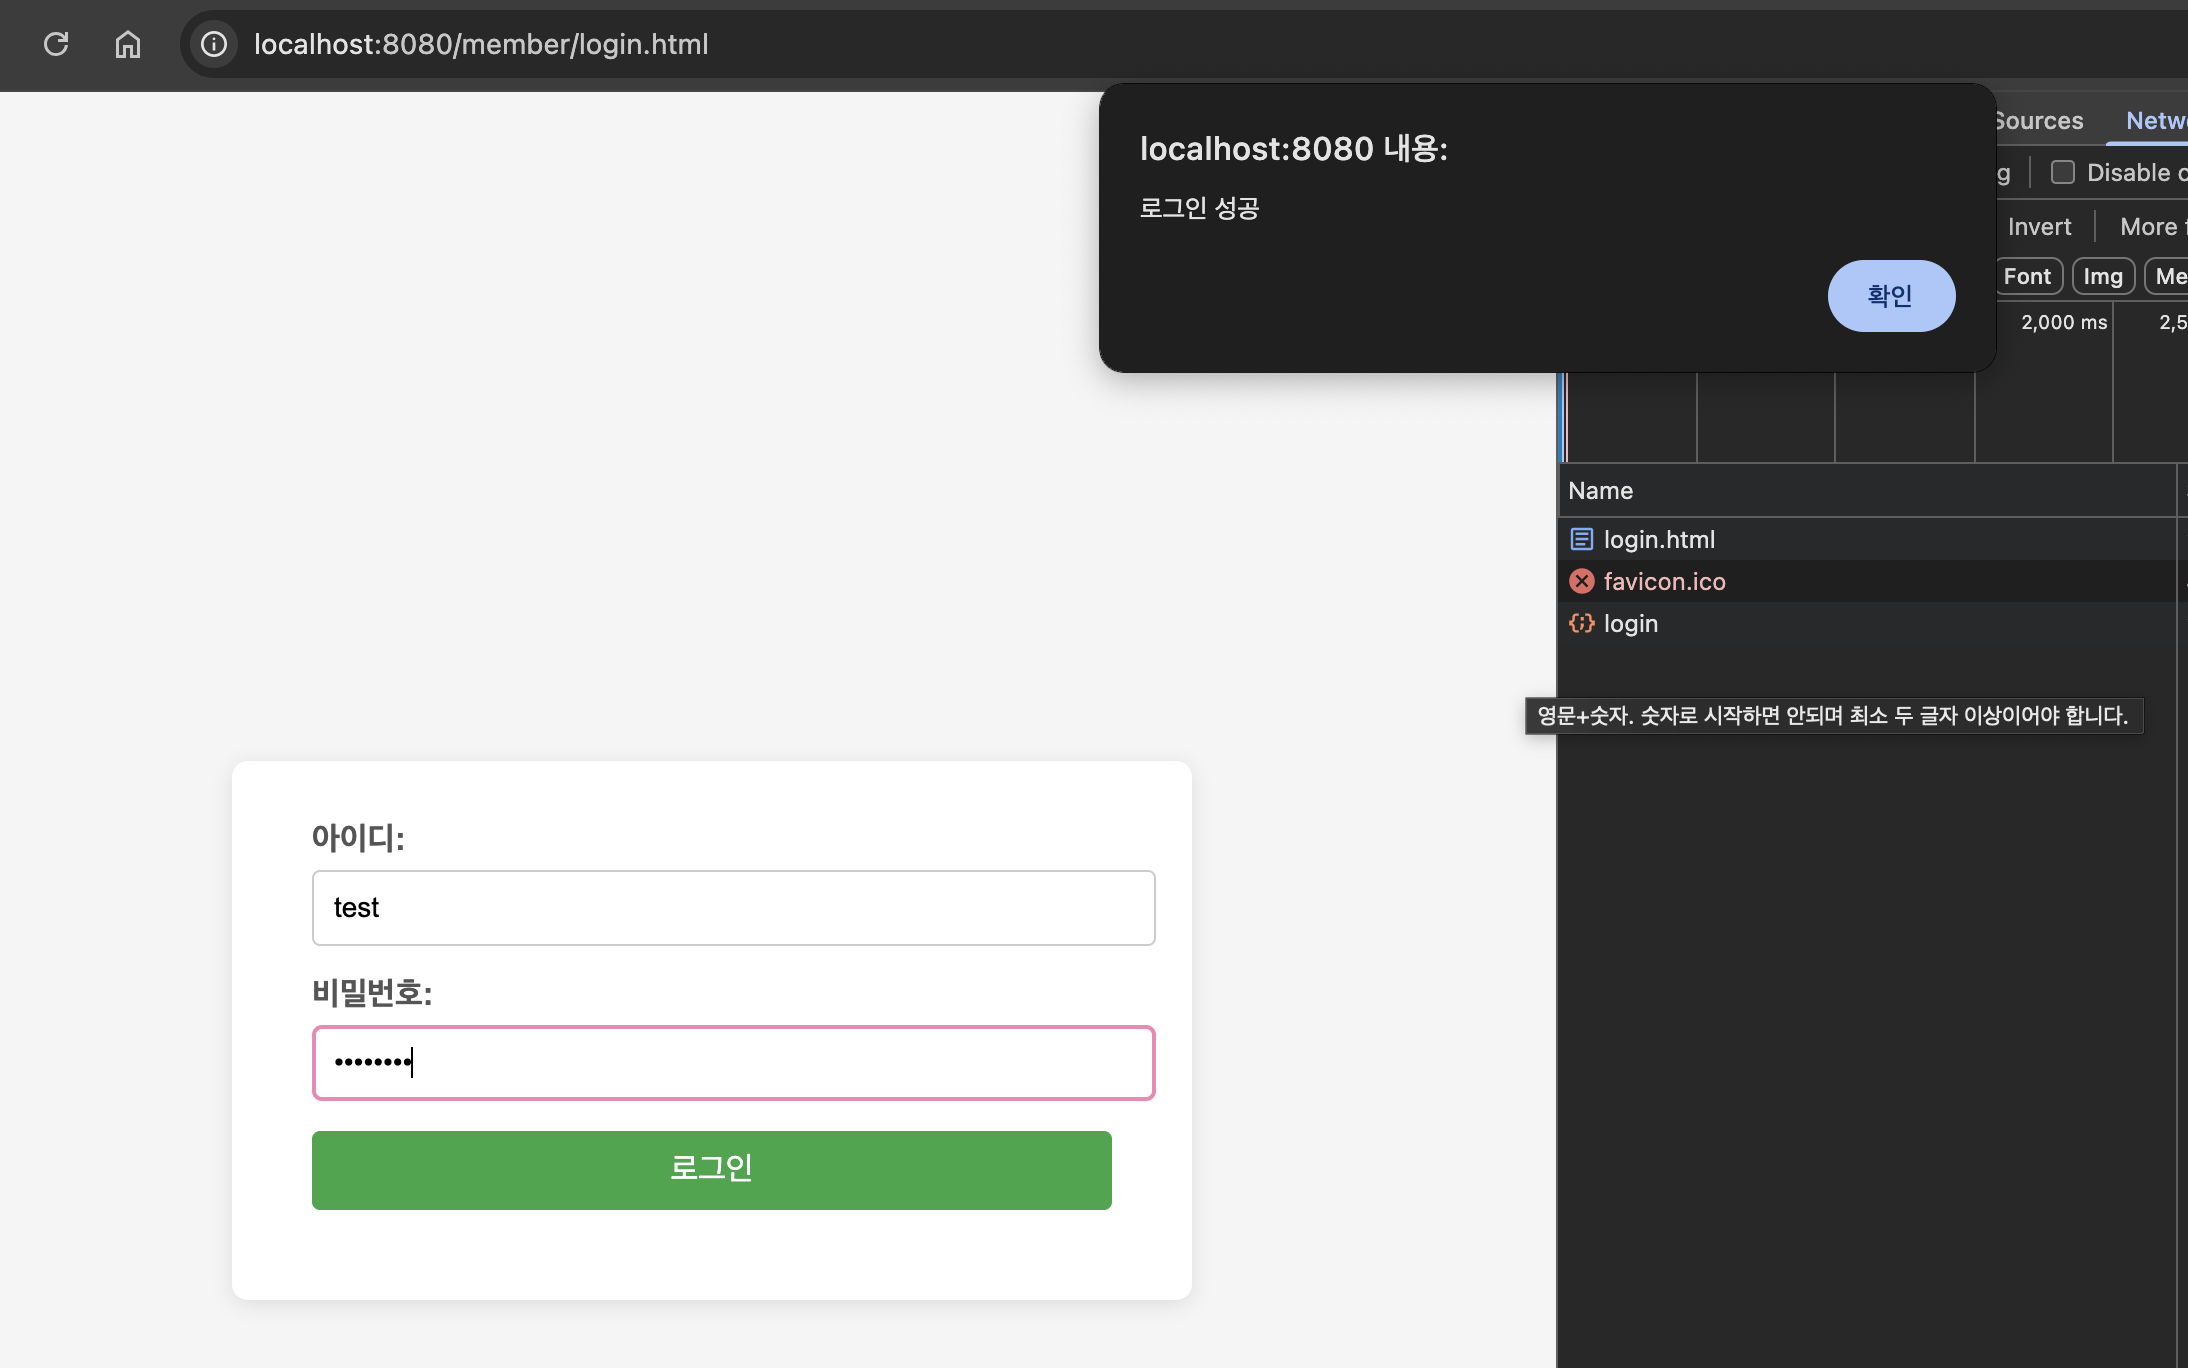
.requestMatchers("/", "/index.html", "/member/login.html", "/api/auth/login").permitAll()
그리고 서버 재실행 후 테스트해보면! 로그인이 성공하는 걸 볼 수 있다.
근데 문제는 로그인 후에.. 현재 인증된 회원만 접근할 수 있는 '회원가입' 페이지에 접근할 수가 없다.
사실 당연하다. 진짜 단순한 로그인 기능을 구현했기 때문에 구현 소스 안에 스프링 시큐리티가 인증된 사용자 정보를 유지하지 못하기 때문이다.
원래 스프링 시큐리티는 로그인 후에 인증 정보를 세션에 저장하고 이 세션을 기반으로 사용자의 인증 여부를 체크한다.
근데 위에서 세션 기능을 꺼버려서 이 상태에서는 인증 정보 유지가 안 된 것이다.
그래서 세션 기능을 끌거면 매 api 요청마다 인증된 사용자임을 표현(?)해줘야하는데 대부분 http header에 Authorization을 추가해서 인증 정보를 전달하는 방식으로 구현한다.
이 부분은 다음에.. 알아보자!